
Happy Monday everyone!
I hope you had a great weekend!
Well, today i'm going to share a tutorial on it. I know there are tons of zipper pouch tutorials out there by many wonderful people. But i thought it will be fun to share how i make mine. = )
These pouches are so easy, quick and fun to make. Once you grasp the concept, you can make them in any size or design! Plus, they are practical and useful and makes a really great gift because girls can never have too many pouches and shoes right?! ;p
So, are you ready?!
Let's go!


1) Sew your exterior print fabric color 1 and color 2 (aqua piece) right side together as shown. Make two.

2) you may choose to either press seams to one side or press seams open, which ever way is more comfortable for you. Make two.

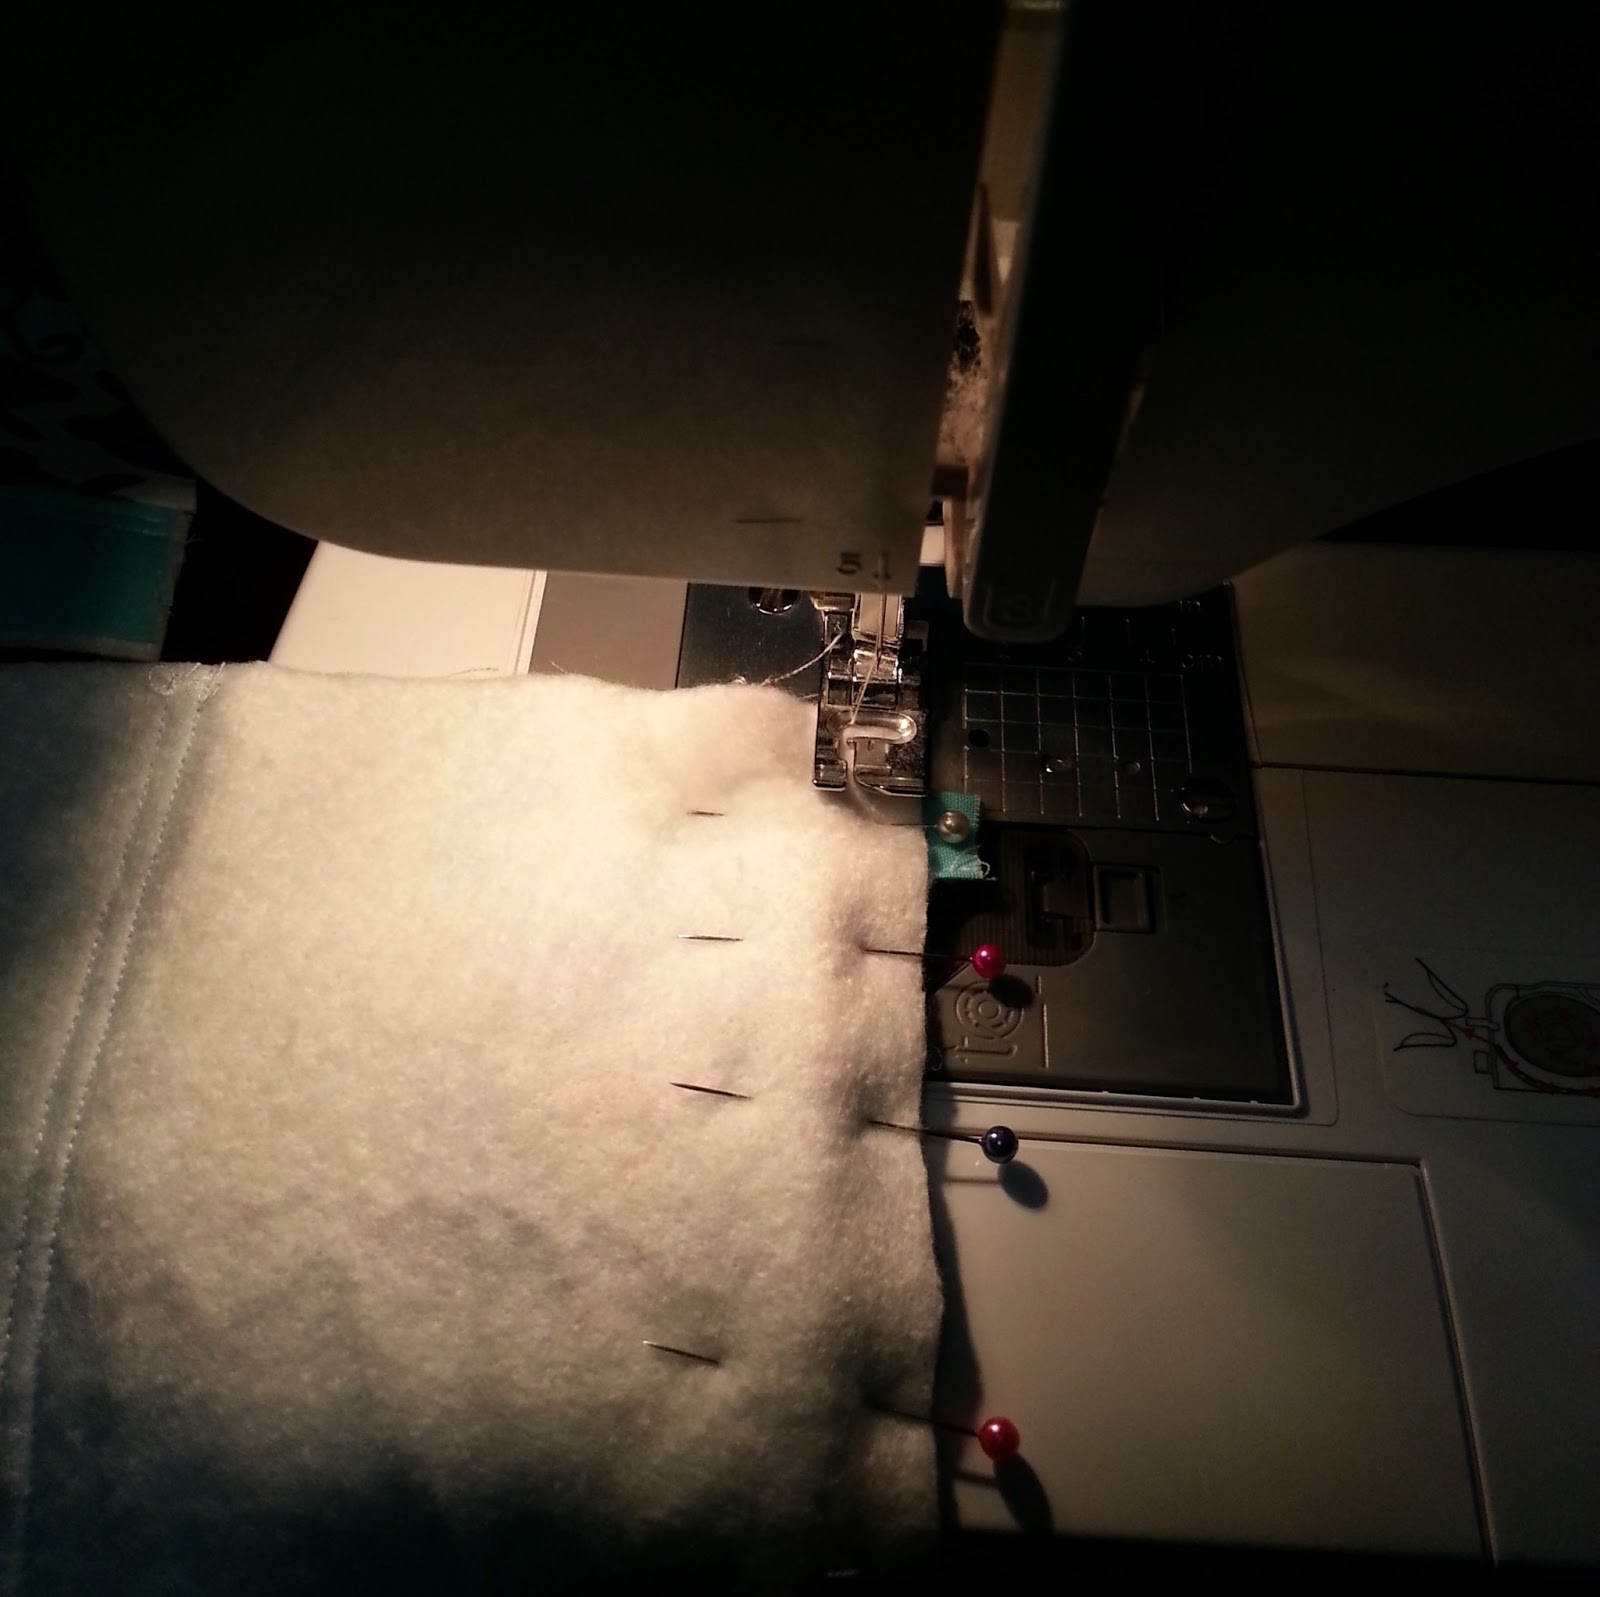
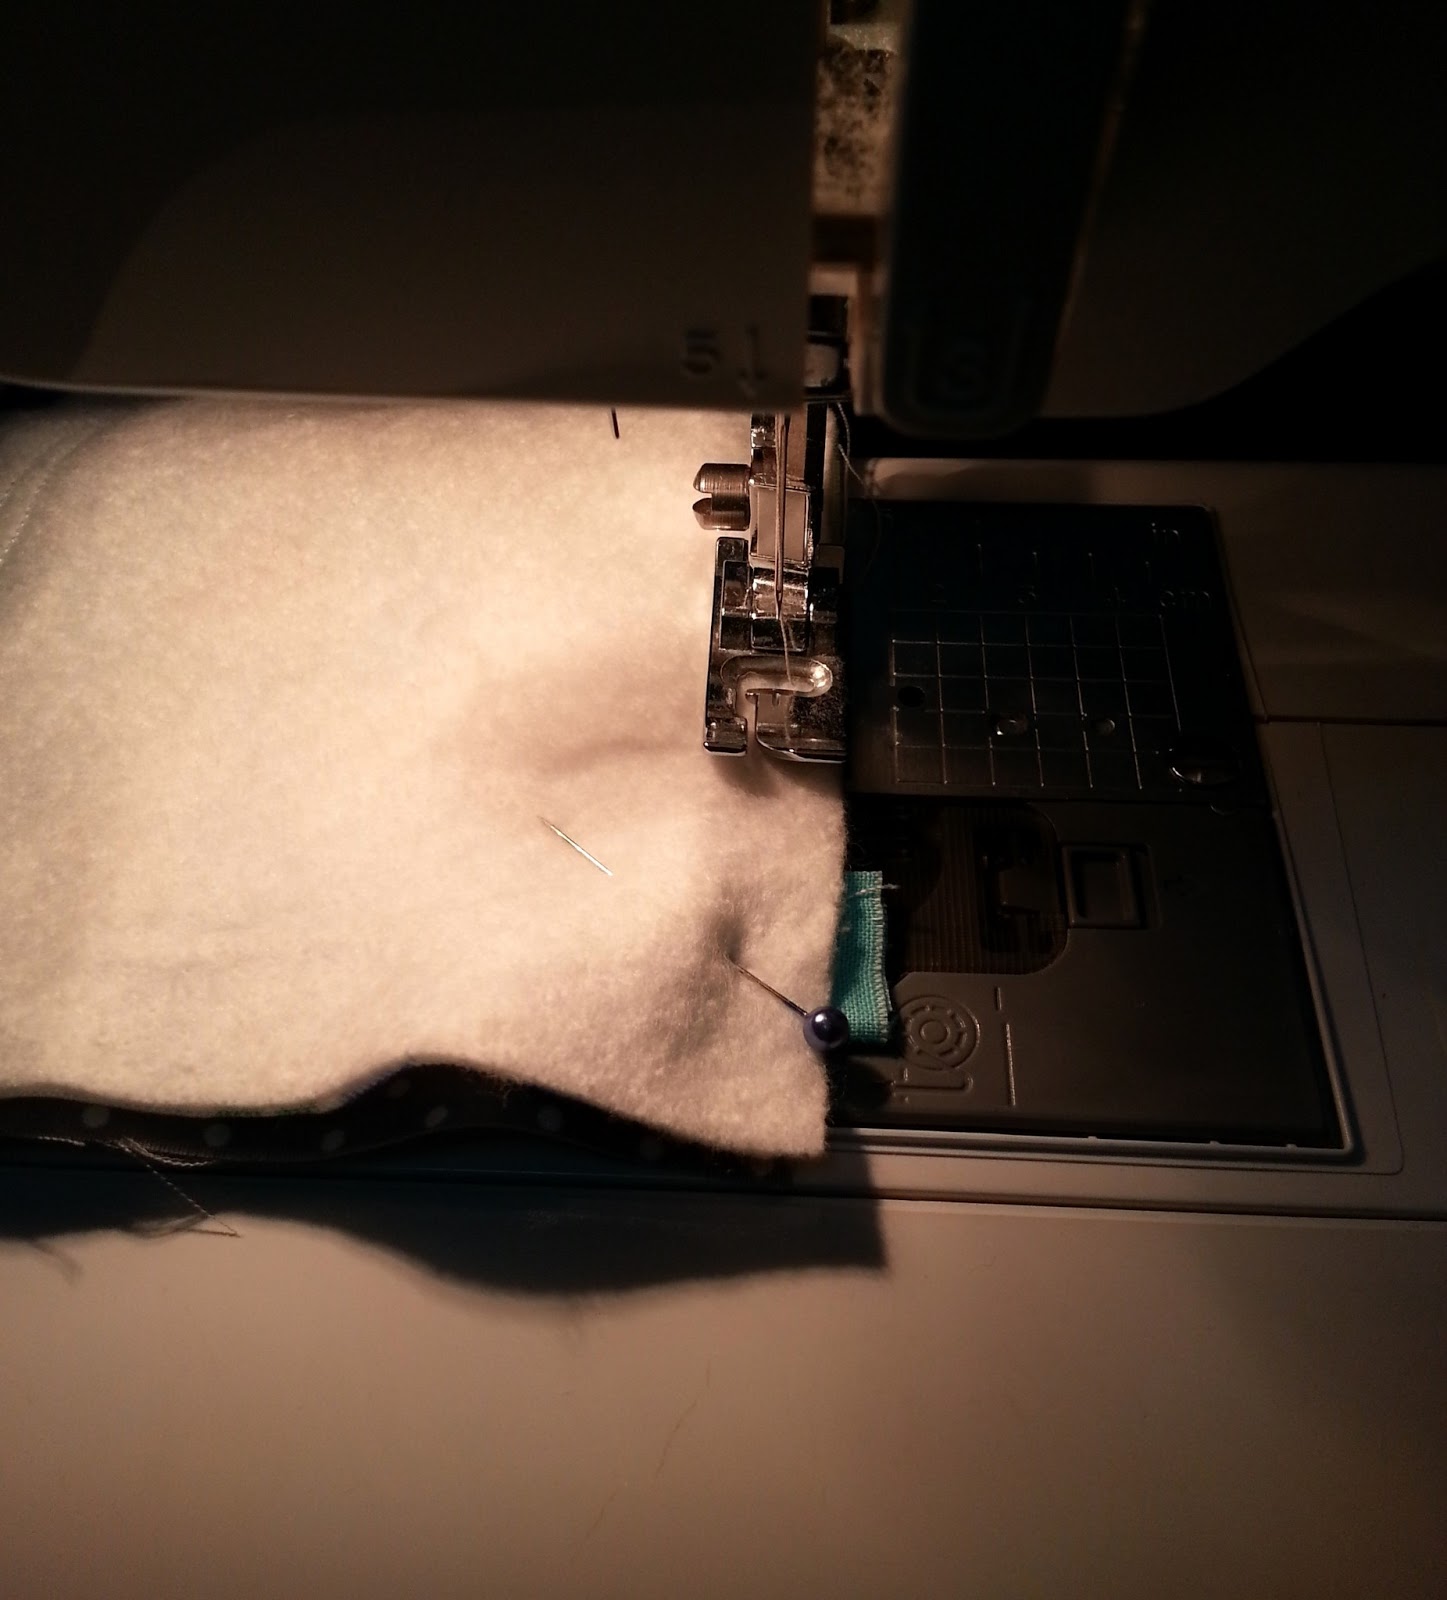
3) If you are using light weight interfacing, fuse the interfacing to the wrong side of the exterior print fabric as per the manufacturer's instruction on the packaging.
Place the cotton batting on top of the interfacing.
Repeat this step for the second exterior print fabric.

4) This part is optional. For me, I like to add some simple quilting details to my pouch to make it more interesting. you can choose to quilt straight lines or stipple or none at all! Is entirely up to you. = )

5) Cut off the end of your zipper, trimming off the metal part.
Measure your zipper from the end and draw a line at 6".

6) Remember to unzip your zipper pass the drawn line.
Cut on the drawn line.

7) To make the end tabs of the zipper, fold the piece of fabric into half length wise.
Press it.
Open up, fold the raw edges towards the centre crease and press again.
Repeat this step for the other end tab.

8) Placed your zipper end in the folded tab.


9) Pin it in place.

10) Using a small seam allowance, top stitch a straight line across the zipper.
Repeat this step for the other end of the zipper.

11) The length of the zipper with the tabs sewn on should measure 6" from end to end.

12) Placed the lining print fabric right side up, center the zipper face up with the pull zip on the right.

13) Placed the exterior fabric right side down on top of your lining fabric + zipper.
Make sure the edges are in line.

14) Pin them in place. Pin as many pins as you need, so they are secured.
15) Sew along the top edge using 1/4 seam allowance.

16) when you sew near to the pull zip, stop sewing and backstitch.

17) Remove the remaining pins, flip open and unzip the zipper until is about two inches pass where you have stop sewing.
18) Flip it back to the previous position, ensure the edges are in line and pin.
Continue sewing the top edge using 1/4 seam allowance from where you have stop earlier.

19) Flip the fabrics wrong side together and press.

20) Trim off the excess fabric from the zipper tabs.
Repeat this step for the other side later on.

21) Place the lining fabric right side up, center the zipper face up with the pull zip on the left side this time. Place the other exterior fabric with wrong side facing up on top of the zipper. Ensure the edges are in line and pin in place.
Repeat Step 14 to 20.

22) Flip the fabrics wrong side together and press, so it will now look like the above picture.

23) Top stitch along the edge of each side of the zipper.


24) **Open your zipper halfway now.**
Placed the exterior fabric right sides together and the lining fabric right sides together.
Push the zipper end tabs towards the exterior fabric.

25) Pin it in placed.

26) Sew all around the edge using a 1/4" seam allowance.
Leave about 4" opening at the bottom of the lining fabric for turning later on.
I have sew a larger seam allowance on the lining fabric compare to the exterior fabric so that it will seat nicely after i turn it over and put the lining in the pouch.
Ensure that you sew right next to the zipper end tabs and not through them.
Clip all corners.

27) Turn the pouch right side out through the lining fabric opening.
Gently push out the corners.

28) You may choose to hand stitch the opening closed which is always my favourite option because i like my stitches to be invisible especially if is meant to be a gift.
But today, we will just stitch the opening closed using a small seam allowance.

29) Placed the lining fabric into the pouch and press well.

30) Ta - daaaa! Your pouch is all done!
You can actually add a short strap handle at the side or sew on ric rac on the exterior fabric. Something like my Sanitary Napkin Purse for example.
** A short tutorial for the Strap Handle can be found here **

Hope you have a fun time making the zipper pouch as much as i do! ^^
Have a great week ahead!
xox, Jean
Thank you, it´s lovely.
ReplyDeleteNana
What a great tutorial. I love how you put the fabric at either end of the zipper, I am going to give this a try. Love, love, love that monkey fabric by the way!!
ReplyDeleteThanks for this great tute! Its just the kind of quick girl friend gift I was kind of looking for to say hello to all my girlfriends as a spring parcel in the mail. We all love getting parcels in the mail!
ReplyDeleteJust whipped one up during nap time! thanks for the tutorial!
ReplyDeleteI just found your website and loving it! I've been wanting to learn how to make a zippered pouch and this is very detailed...will try it!
ReplyDeleteAgnes
Just finished making one and it turned out great! It was the first thing with a zipper I'd ever made. Thanks for the easy-to-follow instructions!
ReplyDeletebeautiful bag ,beautiful tutorial.
ReplyDeleteWonderful tutorial! I loved the outcome! So cute!
ReplyDeleteGreat post!! I included it in my post Βόλτα στη Γειτονιά!!! ...while sewing!! :)
Have a great weekend!!
great tutorial - i just made one following your tutorial. the only thing is, i wanted to make the zipper case a little bit longer to hold colored pencils. i didn't do the zipper tabs the right way - well, i didn't leave enough room for them, so it made a mess, can you please add a detail photo of the finished zipper tab? is there a gap between the zipper tab end and the sewn sides since you mention you don't actually stitch into the zipper tab? thanks!
ReplyDeleteHi Leah,
Deleteyou've got mail (email). ^^
I made one of your pouches today. I have always struggled with zippers but was feeling brave this morning. Your tutorial helped. I am going to throw a picture of it on Instagram with #sewminty if you want to see it. Thank you for your work in making the tutorial!
ReplyDeletei saw that you made it with Nordika fabric! Is so cute!
DeleteThank you for visiting my little blog. = )
Nice tutorial, thank you! One question - how do you handstitch the hole in the lining fabric so that it is invisible? I could never figure out how to do that elegantly.
ReplyDeletehmmm.. that's a good question! when my husband is free to take photo for me, i will do a tutorial on it! = )
DeleteThank you for visiting my blog. = )
Nice tutorial, thank you! One question - how do you handstitch the hole in the lining fabric so that it is invisible? I could never figure out how to do that elegantly.
ReplyDeleteThanks so much for a great tutorial with the zipper tabs - exactly what I needed. I've just made one pouch and about to make another.
ReplyDeleteThanks for this! I have made a pencil case for my friends Birthday. I hope she likes it.
ReplyDeleteThanks to your tutorial.
I'm sure she will. = )
DeleteThank you for using my tutorial. ^^
Thank you for this excellent tutorial. My 13 year old daughter made a zippered camera bag with your pattern! The tabs for the zipper really makes the bag look professional and fun.
ReplyDeleteLOVE love love this tutorial. Thank you so much for doing this and allowing us to see your steps to perfection!
ReplyDeleteHow adorable these are. Thanks for the tutorial. These are so simple to sew.
ReplyDeleteReminder if you are using two colors for the exterior... check that the colors match at the seam as well.. not just the seam near the zipper, but between the colors, too, so the section goes all the way around in the same color without disruption at the sides. Also I really liked the extra information about the zipper tabs... how to fold them toward the exterior and not to sew into them as you sew all away around during that last step or so. I have made others with tabs in the past without that hint and the tabs were basically invisible when I turned the bag. So YAY for your explanation. :)
ReplyDeleteThank you so much. :) i have stop blogging for a while due to other commitments. Recently i have started writing some new tutorials. Will share soon. :)
DeleteThis comment has been removed by a blog administrator.
ReplyDelete